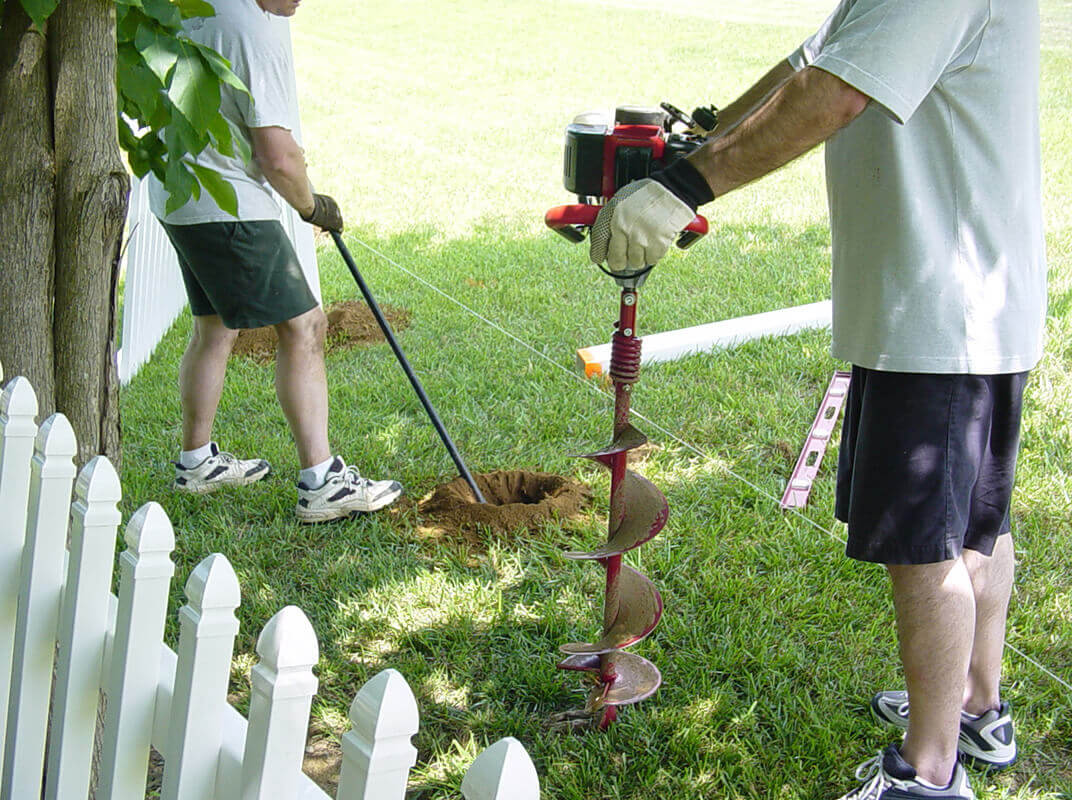
Install Your Fence Like a Pro
Installing a new fence doesn’t always require a professional contractor to get the job done. More complicated fencing – like hardwood fences and mixed material fences – should involve a professional, but if you plan to install a basic fence, it’s a relatively simple DIY procedure – if you have the right tools, the right materials, and a predetermined plan.
Once your fence posts are in the ground, there are no do-overs. That’s why it’s important to learn as much as you can about the process before you get started. Your fence installation plan will differ depending on the size or your fence, the materials you plan to use, and your personal preference for style. You may not need a pro to install your fence, but you can always use some professional advice.
The following Pro-Tips will help you get your fence installation right the first time.
Quick Set Your Posts
The most important step in installing your fence is setting the posts level with the ground. After you dig the post holes (which should be about one-third of the height of your post for a standard 4” post), it’s time to mix cement. Traditional cement mixing can take a while – and requires you to then hold your post in place until the concrete dries. If you slip up, or the lean the post in the wrong direction, you could ruin the entire project.
That’s why it’s best to use fast-setting concrete instead of traditional concrete. With fast setting concrete, you simply pour the mixture into the hole around your post and add water. The concrete will set in around 20 minutes, and you’ll be on to the next fence post. But be careful – you have a very short window to adjust your posts, and no time for do overs. Your timing here will be key to success.
Water is the enemy of wood. Prolonged exposure to water can and will rot your wooden fence posts even if they are pressure treated. Sprinkling gravel at the bottom of the fence post hole creates a natural filtration system that helps drain water away from your wooden post, and into the ground, ensuring that your post does not sit submerged in water after rains.
Dip Your Posts
Sealing your fence post with an asphalt emulsion dip can extend its life by years. Asphalt emulsion combines asphalt, water, and an emulsifying agent to create a protective layer on top of the wood, sealing off its pores from intruding moisture and insects. Dip the bottom of your posts with asphalt emulsion until the mixture reaches slightly above the concrete line and all the way below the soil line. Asphalt emulsion can help any wood last longer – including pressure treated lumber.
The Third Rail
One of the choices you’ll make when building a fence is how many rails to use. Fewer rails give you a better view, but stability is job one. The best practice for a six-foot fence is to use three rails. While the number of rails needed for a structurally sound fence can vary depending on length and materials, using three rails will almost always get the job done.
Use Quality Hardware
Too often, homeowners build fences with cheap hardware to cut costs. In the long run, your fence will end up costing you more if you use budget hardware because you’ll need to replace it every few years. Always use either galvanized or stainless steel fence hardware, which will protect from rust or stress induced failure. Galvanized and stainless steel fence hardware also protect your fence from “bleeding” – staining that occurs when the tannins in the wood mix with metal.
Stain It
Staining the wood on your fence has numerous benefits: You can create the shade and tone that you want, you’ll increase the wood’s longevity by filling the wood pores to protect it from water and insects, and you can give your fence a fresh stain every few years to keep it looking rich and new. Painting your fence is a good option as well. Like a stain, paint will seal off and protect your wood. You’ll also have a wide array of colors to choose from, allowing you to match your fence to any part of your home, or simply to your own creative idea.
Get the Neighbors to Help Pay For it!
If you are building a fence that straddles both you and your neighbor’s property, get them to help pay for it! You’ll both enjoy the benefits of the new fence, and you’ll both get a little privacy as well. For shared yards, you can install a “good neighbor” fence, which looks the same on both sides, so no one gets the short end of the stick.

I didn’t know you should use three rails if you wanted to best stability in your fence. We just got a dog last month and we are seriously considering installing a fence so our little puppy can roam freely around the yard. My husband and I don’t have the time or skill to do this on our own so I think we are going to need to hire a service to come in and install a fence for us.